The Ultimate Guide To Replacing A Kenmore Oven Light Bulb
When your Kenmore oven's light bulb burns out, you'll need to replace it so you can see what you're cooking. Replacing a light bulb in a Kenmore oven is a simple task that can be completed in a few minutes.
Here's what you'll need:
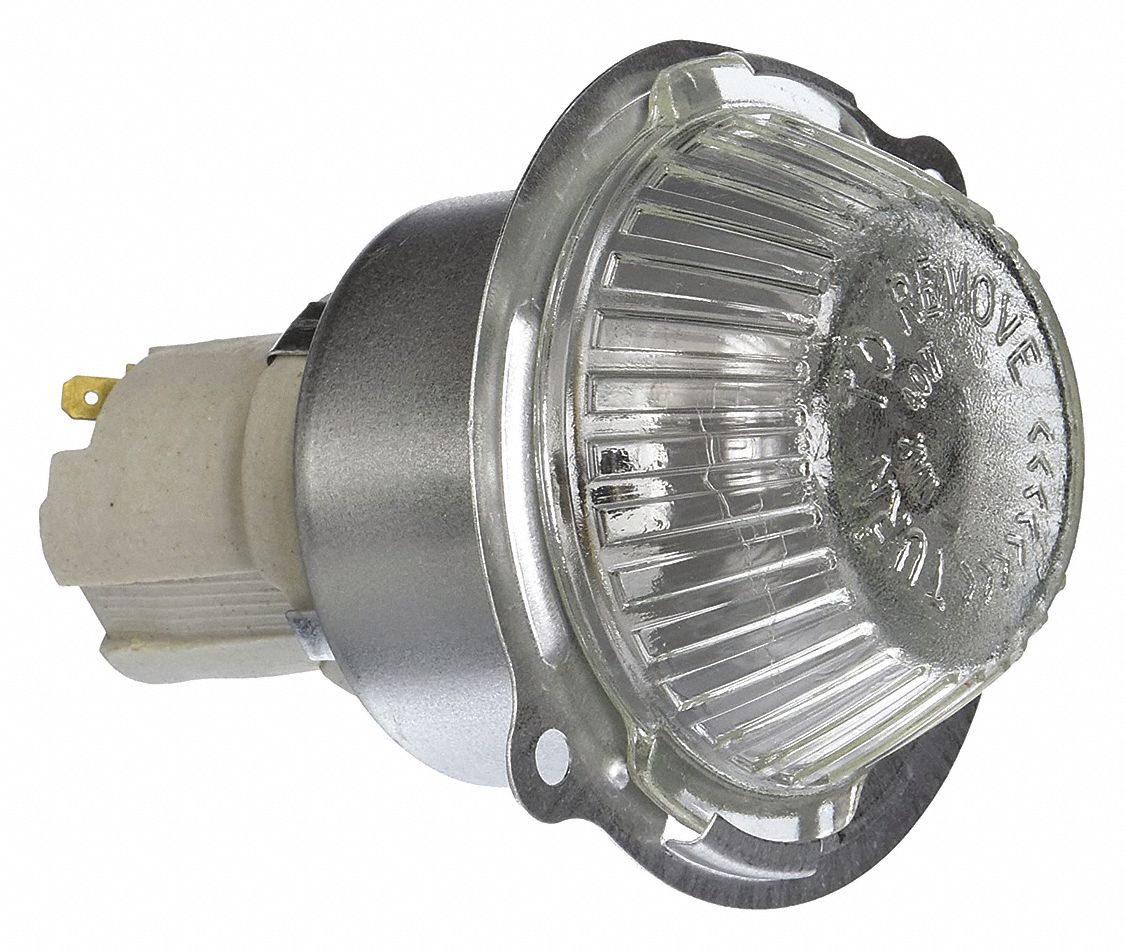
- A new 40-watt appliance light bulb
- A pair of pliers
Here's how to do it:
- Unplug the oven from the electrical outlet.
- Locate the light bulb cover on the back of the oven. It is usually held in place by two screws.
- Remove the screws and lift off the light bulb cover.
- Grip the old light bulb with the pliers and pull it straight out of the socket.
- Insert the new light bulb into the socket and turn it clockwise until it is snug.
- Replace the light bulb cover and tighten the screws.
- Plug the oven back into the electrical outlet.
Your Kenmore oven's light bulb should now be working properly.
How to Replace a Light Bulb in a Kenmore Oven
Replacing a light bulb in a Kenmore oven is a simple task that can be completed in a few minutes. Here are five key aspects to keep in mind:
- Safety first: Always unplug the oven from the electrical outlet before replacing the light bulb.
- Locate the light bulb: The light bulb is usually located on the back of the oven, behind a cover that is held in place by two screws.
- Remove the old bulb: Grip the old light bulb with a pair of pliers and pull it straight out of the socket.
- Insert the new bulb: Insert the new light bulb into the socket and turn it clockwise until it is snug.
- Replace the cover: Replace the light bulb cover and tighten the screws.
By following these simple steps, you can safely and easily replace the light bulb in your Kenmore oven.
Safety first
This safety precaution is crucial when replacing a light bulb in a Kenmore oven, as it prevents the risk of electrical shock. Electricity can travel through the oven's components, even when it is turned off, so it is essential to disconnect the power source before handling any electrical parts.
- Electrical safety: Unplugging the oven eliminates the flow of electricity to the appliance, ensuring that there is no risk of shock while replacing the light bulb.
- Prevention of accidents: By unplugging the oven, you prevent accidental activation of the appliance, which could lead to burns or other injuries.
- Compliance with safety standards: Following this safety measure aligns with industry standards and best practices for handling electrical appliances.
- Warranty protection: Some oven manufacturers may require unplugging the appliance before servicing to maintain warranty coverage.
By adhering to this safety precaution, you can minimize the risks associated with replacing a light bulb in a Kenmore oven and ensure a safe and successful repair.
Locate the light bulb
Locating the light bulb is a crucial step in the process of replacing it in a Kenmore oven. This step involves identifying the correct location of the light bulb within the oven and understanding how to access it.
- Rear location: The light bulb in a Kenmore oven is typically situated on the back of the oven, making it easily accessible from the rear side of the appliance.
- Protective cover: The light bulb is usually housed within a protective cover that shields it from heat and other elements. This cover is typically secured by two screws that need to be removed to access the bulb.
- Accessibility considerations: Before attempting to locate the light bulb, ensure that the oven is unplugged from the power source and has cooled down completely to prevent any safety hazards.
Understanding the location and accessibility of the light bulb is essential for efficient and safe replacement. By following these guidelines, you can accurately locate the light bulb in your Kenmore oven and proceed with the replacement process.
Remove the old bulb
Successfully removing the old light bulb is a critical step in the process of replacing it in a Kenmore oven. This step requires careful handling and an understanding of the correct technique to avoid damage to the oven or injury to oneself.
- Safety first: Before attempting to remove the old bulb, ensure that the oven is unplugged from the power source and has cooled down completely to prevent electrical shock or burns.
- Proper grip: Using a pair of pliers provides a secure grip on the old light bulb, preventing it from slipping and potentially breaking or causing injury.
- Straight pull: Pulling the old bulb straight out of the socket ensures that the bulb is removed evenly, without putting undue stress on the socket or the bulb's contacts.
- Bulb disposal: Once the old bulb is removed, it should be disposed of properly to avoid the risk of cuts or other injuries from broken glass.
By following these guidelines, you can safely and effectively remove the old light bulb from your Kenmore oven, paving the way for the installation of a new bulb and the restoration of proper lighting in your oven.
Insert the new bulb
Inserting the new light bulb into the socket and turning it clockwise until it is snug is a crucial step in the process of replacing a light bulb in a Kenmore oven. This step ensures that the new bulb is securely in place and makes electrical contact with the socket, allowing it to function properly.
- Proper alignment: Before inserting the new bulb, ensure that it is properly aligned with the socket to prevent cross-threading or damage to the bulb or socket.
- Clockwise rotation: Turning the bulb clockwise ensures that it is tightened securely into the socket, creating a good electrical connection and preventing the bulb from loosening over time.
- Snug fit: Tightening the bulb until it is snug ensures that it is held firmly in place, preventing it from rattling or vibrating during oven operation.
- Electrical safety: A secure connection between the bulb and the socket is essential for electrical safety, preventing arcing or sparking that could pose a fire hazard.
By following these guidelines, you can ensure that the new light bulb is properly inserted and secured, restoring proper lighting to your Kenmore oven and ensuring its safe and efficient operation.
Replace the cover
Replacing the light bulb cover and tightening the screws is a crucial step in the process of replacing a light bulb in a Kenmore oven. This step ensures that the new bulb is securely in place and protected from dust, moisture, and other environmental factors that could affect its performance or longevity.
The light bulb cover acts as a protective barrier, shielding the bulb from accidental contact and preventing it from coming loose during oven operation. Tightening the screws ensures that the cover is securely fastened, preventing it from rattling or vibrating, which could damage the bulb or the oven itself.
By properly replacing the light bulb cover and tightening the screws, you can ensure that the new bulb is functioning optimally and safely, providing adequate lighting for your oven and contributing to its overall performance and longevity.
FAQs on Replacing a Light Bulb in a Kenmore Oven
Replacing a light bulb in a Kenmore oven is a straightforward process, but certain questions and concerns may arise. This FAQ section addresses common inquiries to provide comprehensive guidance on the task.
Question 1: What type of light bulb should I use for my Kenmore oven?
Answer: Kenmore ovens typically require a 40-watt appliance light bulb.
Question 2: Where is the light bulb located in a Kenmore oven?
Answer: The light bulb is usually situated on the back of the oven, behind a cover secured by two screws.
Question 3: Do I need to unplug the oven before replacing the light bulb?
Answer: Yes, for safety reasons, always unplug the oven from the electrical outlet before attempting to replace the light bulb.
Question 4: How do I remove the old light bulb?
Answer: Grip the old bulb with pliers and pull it straight out of the socket.
Question 5: How do I insert the new light bulb?
Answer: Insert the new bulb into the socket and turn it clockwise until it is snug.
Question 6: How do I replace the light bulb cover?
Answer: Replace the light bulb cover and tighten the screws to secure it.
Summary: Replacing a light bulb in a Kenmore oven is a simple and essential task for maintaining proper oven illumination. By following the steps outlined in this FAQ section, you can safely and effectively replace the light bulb, ensuring optimal performance and safety.
Transition to the next article section: For additional guidance and troubleshooting tips, refer to the comprehensive article on "How to Replace a Light Bulb in a Kenmore Oven."
Conclusion
Replacing a light bulb in a Kenmore oven is a simple yet essential task that ensures proper illumination for cooking and baking. This article has thoroughly explored the process, providing detailed instructions and safety precautions.
By following the steps outlined in this guide, you can confidently replace the light bulb in your Kenmore oven, ensuring optimal performance and safety. Remember to always unplug the oven, locate the light bulb, remove the old bulb, insert the new bulb, and replace the light bulb cover.
Maintaining a properly functioning oven light bulb not only enhances visibility within the oven but also contributes to overall oven efficiency and longevity. By addressing this seemingly minor task, you can ensure that your Kenmore oven continues to serve your culinary needs effectively and safely.
Importance Of Critical Path Analysis In Project Management
Hercules' Guiding Light: The Woman Who Inspired His Laborious Path
Essential Guide To Using Client Secrets For Secure Azure Authentication